Information on testing – english
Information on Testing
A welder can be tested for SMAW, GMAW, and FCAW/MCAW at our facility. Depending on the requirements of the job will depend on which tests the welder will undertake.
For SMAW & FCAW/MCAW a welder can test in “All position” which will be flat, horizontal, Vertical up and the overhead position. GMAW is generally only tested in the Flat and Horizontal position.
Each position must be passed to receive the qualification which is “higher” The order of testing is Flat, Horizontal, Vertical and Overhead. If a welder does not pass “Flat”, they will have 90 days to successfully pass flat to receive the additional qualifications.
If a welder passes flat, horizontal, and overhead, but fails vertical, they will receive a qualification for flat and horizontal. They would have 90 days to retest the vertical position to receive the additional positions.
Upon successful completion of their weld test, the welder will receive a qualification letter, which is valid for 2 yrs. The company is CWB certified, the welder is a qualified welder to CSA W47.1. The company certification covers the entire quality control program which includes accepted data sheets and procedure specifications, the use of certified electrodes and qualified personnel. Having a CWB welder qualification is one part in the CWB quality control program.
CSA W47.1 (CWB Structural Weld Test)
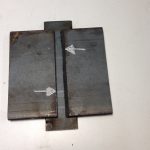
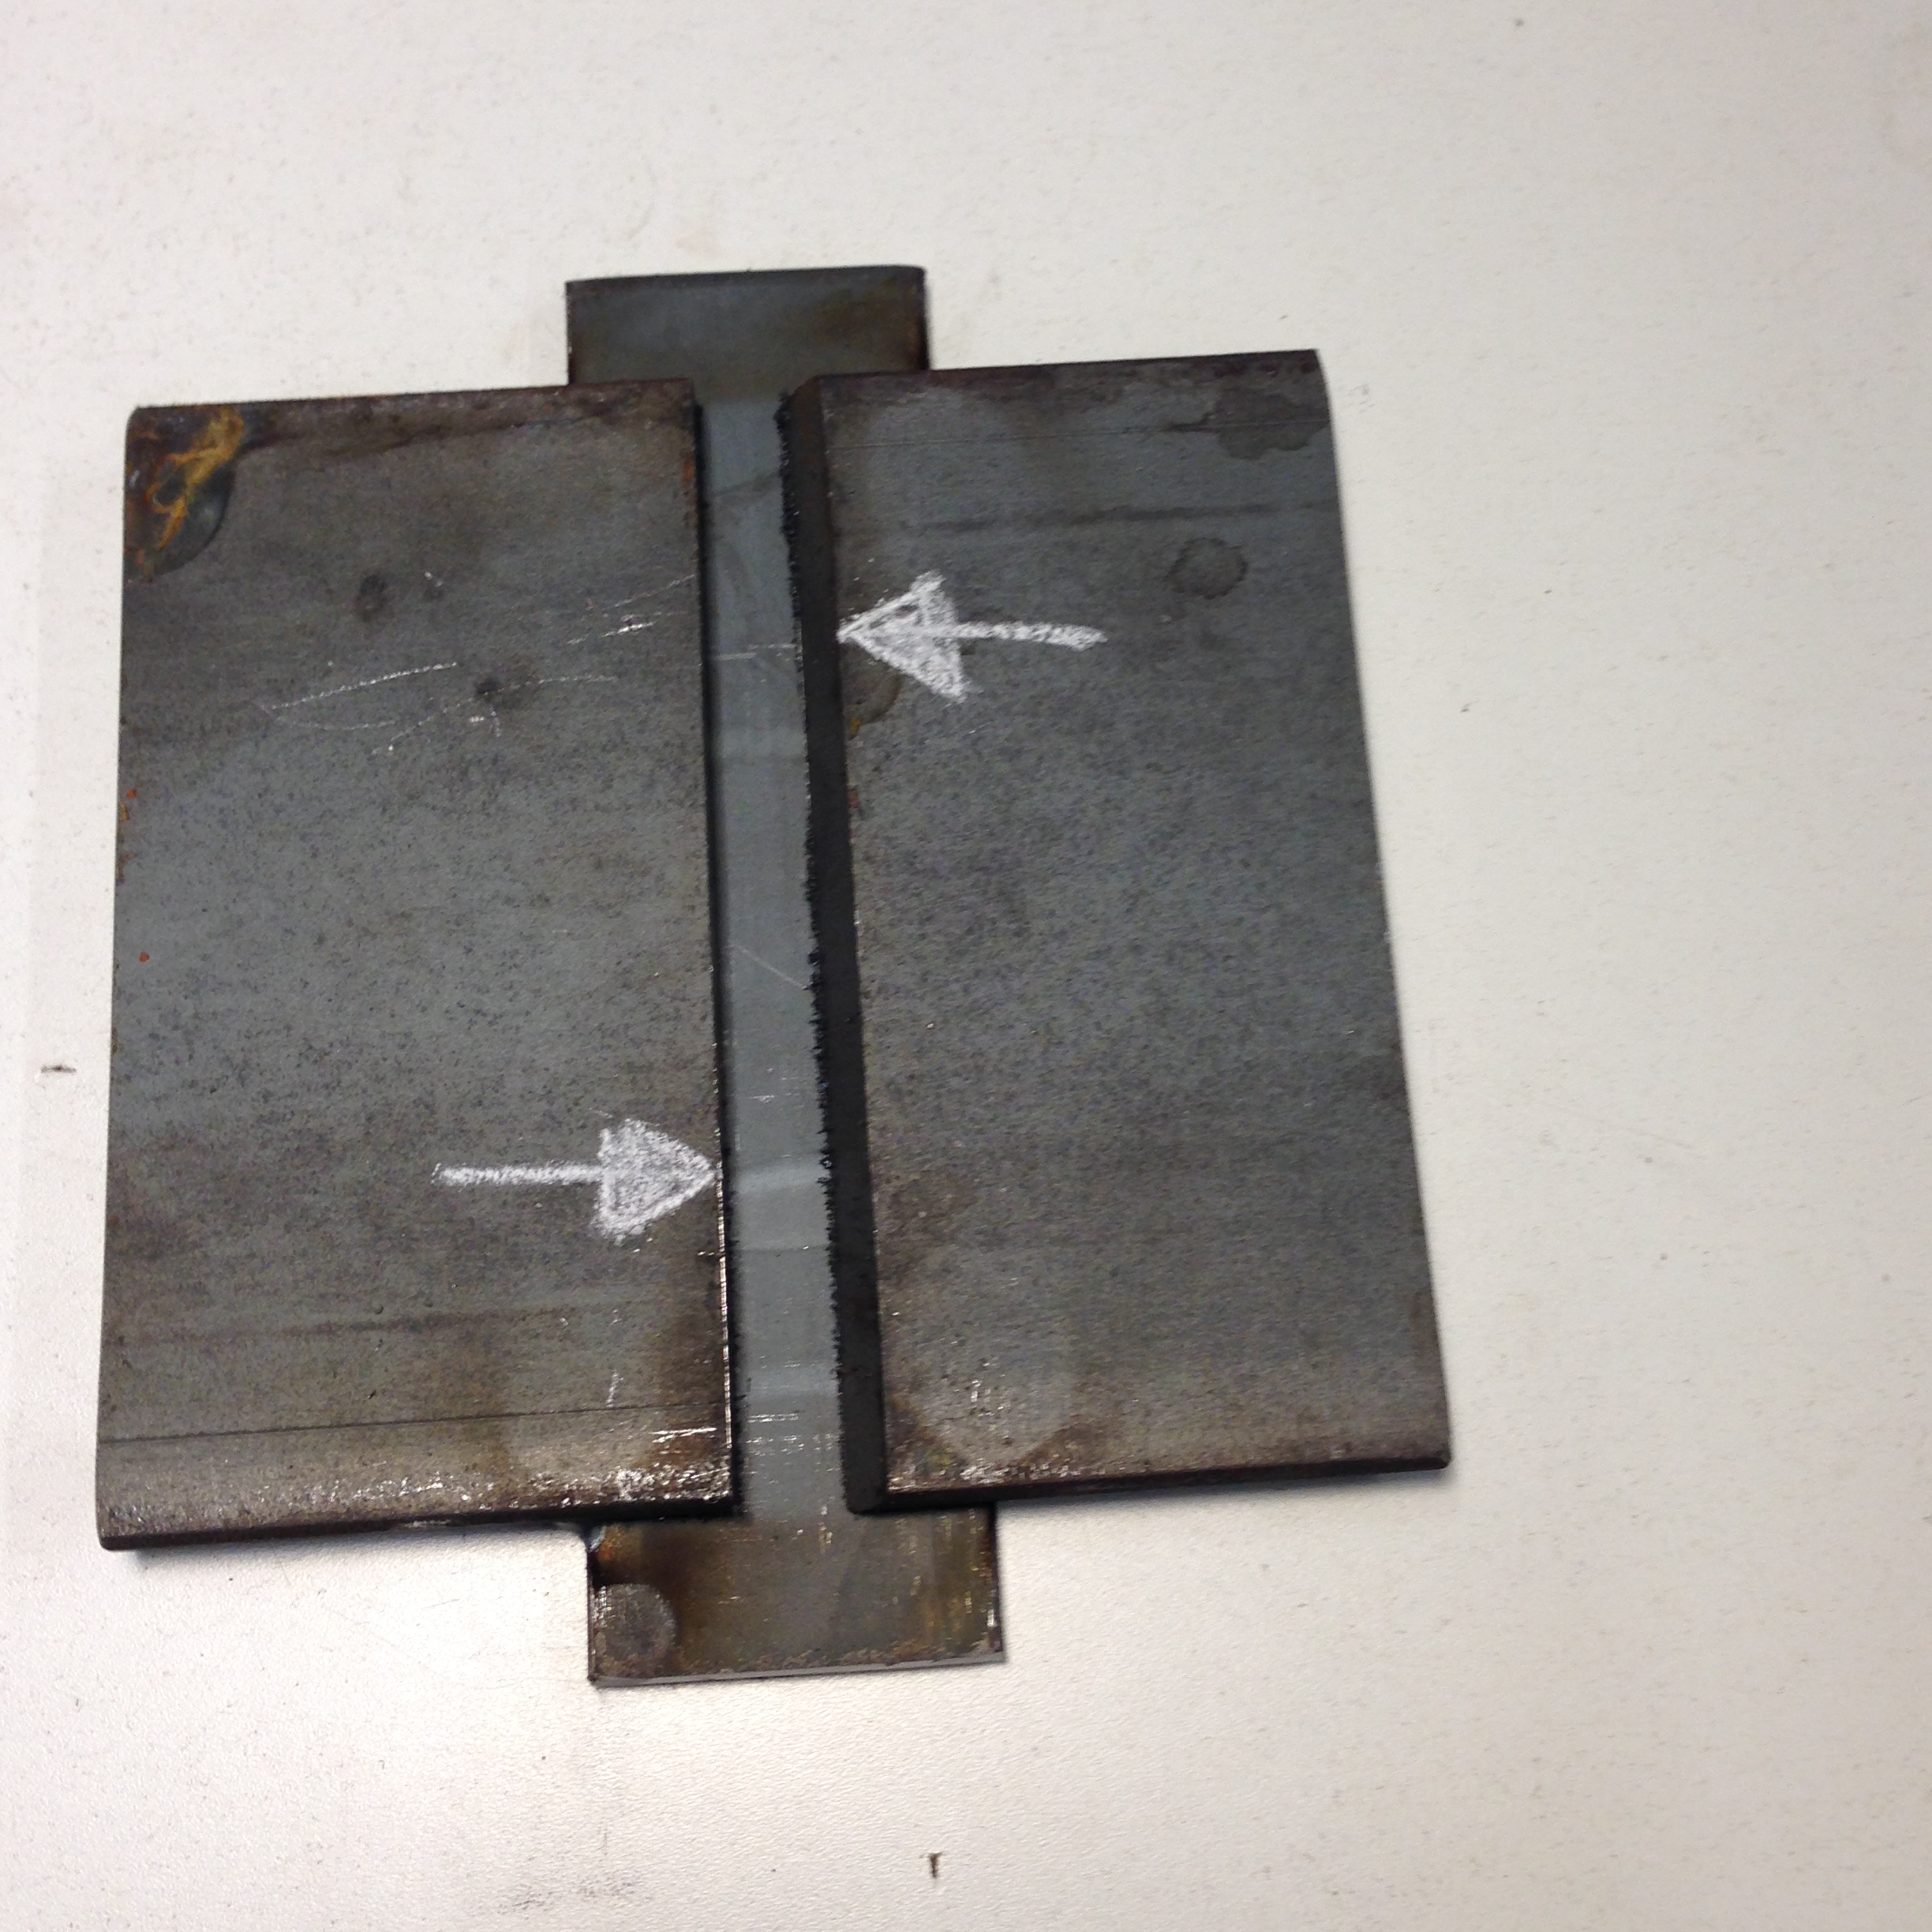
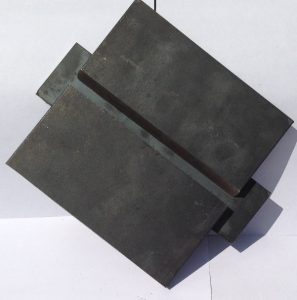
The test is comprised of a Test Assembly which is 6” long and has a Fillet and Bevel edge.
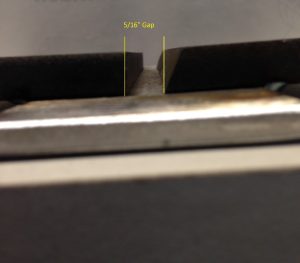
The Flat, Vertical and Overhead Test Plates will have a 1/2″ gap and the Horizontal Test Plates will have a 5/16″ gap.
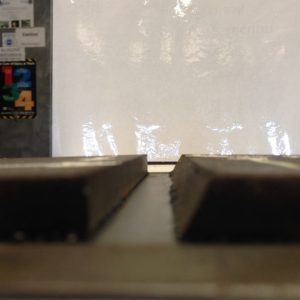
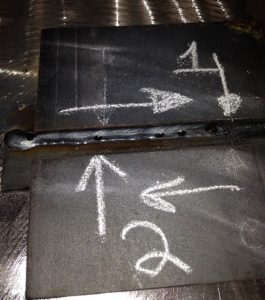
Starting on the Fillet side the welder will start the weld on the backing bar and weld to the arrow. The welder will stop, show the CWB Rep the weld, then start again at the spot and finish the weld. The welder will then start on the Bevel side (opposite end of the plate and weld to the “2” Arrow and Stop. The CWB Rep will witness this and the welder then will complete the weld. The welder will then fill the joint
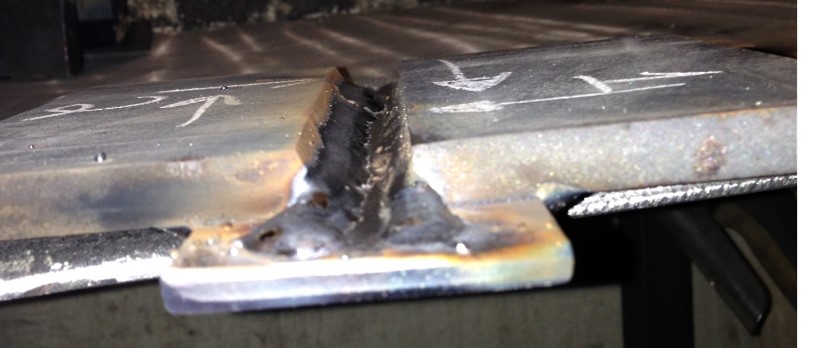
The CWB Representative will then Visually inspect the surface of the weld. The weld cap must not be more than 3mm above the surface of the plate or have any visual defects in the weld.
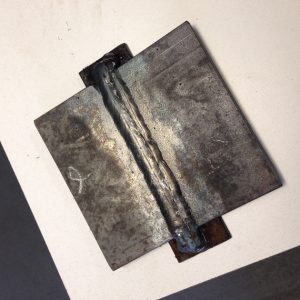
The plate is then destructively tested with the ends of the
plate being removed, then the remaining plate being cut into 3 sections.
The three sections are bent with a press. The outer sections have the roots bent and
the center section has the face bent.
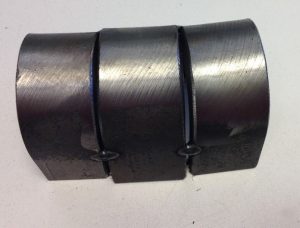
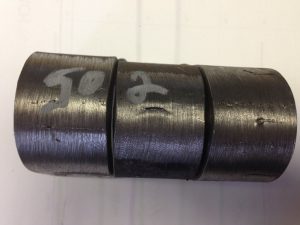
Acceptable FAIL
Acceptance Criteria:
When removing backing bar (before bend)
· No evidence of Crack or Visible Lack of Fusion between Weld and base material
· A single Inclusions or Porosity shall not exceed 2mm,
· The sum of all inclusions or porosity shall not exceed 10mm over the length of the test assembly.
After Bend Test the surface is examined for Cracks or other open surfaces and discontinuities shall not exceed:
· 3mm measured in any direction; and
· 6mm on the corners, unless the corner crack resulted in visible slag inclusions or other fusion type discontinuity, in which case the discontinuity must not exceed 3mm
· The sum of the greatest dimensions of all discontinuities exceed 1mm but less that or equal to 3mm, shall not exceed 10mm.
